
Are you craving a warm, cheesy, and delicious slice of pizza, but you want to stay on track with your health goals? You are definitely not alone! As a nutritionist, one of the most common questions I get from my clients is how to enjoy comfort foods without feeling guilty or sluggish afterward. Over my years of developing and testing healthy recipes, I have finally perfected the best cauliflower pizza crust recipe you will ever try.
If you have tried making a vegetable-based crust in the past and ended up with a soft, wet mess that falls apart in your hands, do not worry. Today, I am going to share my professional secrets and a foolproof method to help you make cauliflower pizza not soggy. Instead, you will get a perfectly crispy, holdable slice every single time.
Whether you are managing gluten sensitivity, watching your carbohydrates, or simply trying to sneak more vegetables into your family’s diet, this guide will walk you through everything you need to know.
Why You Need This Recipe in Your Life
When it comes to healthy pizza alternatives, this recipe truly stands out. Switching from traditional white flour dough to a vegetable-based crust offers incredible benefits for your body. Here is why this crust needs to be on your weekly dinner menu:
- Naturally Gluten-Free & Grain-Free: This is perfect for anyone dealing with celiac disease, gluten intolerance, or those who simply feel bloated after eating wheat.
- Nutrient-Dense Powerhouse: Cauliflower is an amazing vegetable. It is packed with Vitamin C (great for your immune system), Vitamin K (essential for bone health), and dietary fiber to keep your digestion running smoothly.
- Keeps Blood Sugar Stable: Traditional pizza dough can cause a massive spike in your blood sugar, followed by a crash that leaves you tired. This low-carb pizza base provides steady, sustained energy.
- Fits Multiple Diet Plans: Because it is high in protein and low in carbohydrates, it functions as an excellent keto-friendly pizza crust.
Essential Ingredients for the Perfect Crust
To make this amazing crust, you do not need any complicated or expensive ingredients. You can find all of these items at your local grocery store.
| Ingredient | Quantity | Purpose in the Recipe |
| Fresh Cauliflower | 1 medium head (or 4 cups riced) | The base of our crust, providing bulk and fiber. |
| Large Egg | 1 | Acts as the primary binder to hold the crust together. |
| Mozzarella Cheese | 1 cup (shredded) | Adds flavor and helps melt the crust into a solid shape. |
| Parmesan Cheese | 1/4 cup (grated) | Gives a delicious, salty, and savory crunch to the edges. |
| Garlic Powder | 1 teaspoon | Adds that classic, savory Italian pizzeria flavor. |
| Dried Oregano | 1 teaspoon | Brings a fresh, herbal aroma to the dough. |
| Salt & Black Pepper | 1/2 teaspoon each | Enhances all the natural flavors of the ingredients. |
Step-by-Step Guide: How to Make It Crispy
Follow these detailed steps carefully. The secret to a perfect crust is all in the preparation!
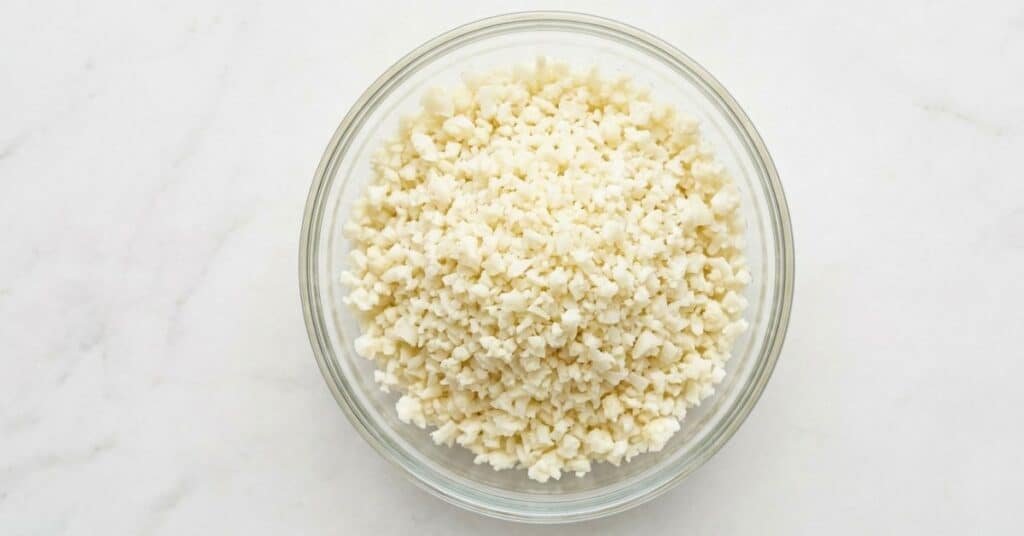
Step 1: Rice the Cauliflower
Start by washing your cauliflower head and removing the green leaves. Cut it into small florets. Place the florets into a food processor and pulse them until the texture looks like small grains of rice. If you do not have a food processor, you can easily use a standard box grater.
Step 2: Steam to Soften
Transfer your cauliflower rice into a microwave-safe bowl. Do not add any water! Microwave it on high for 4 to 5 minutes until it is soft and tender. Once it is done, let it sit on the counter until it is completely cool to the touch. You do not want to burn your hands during the next step.

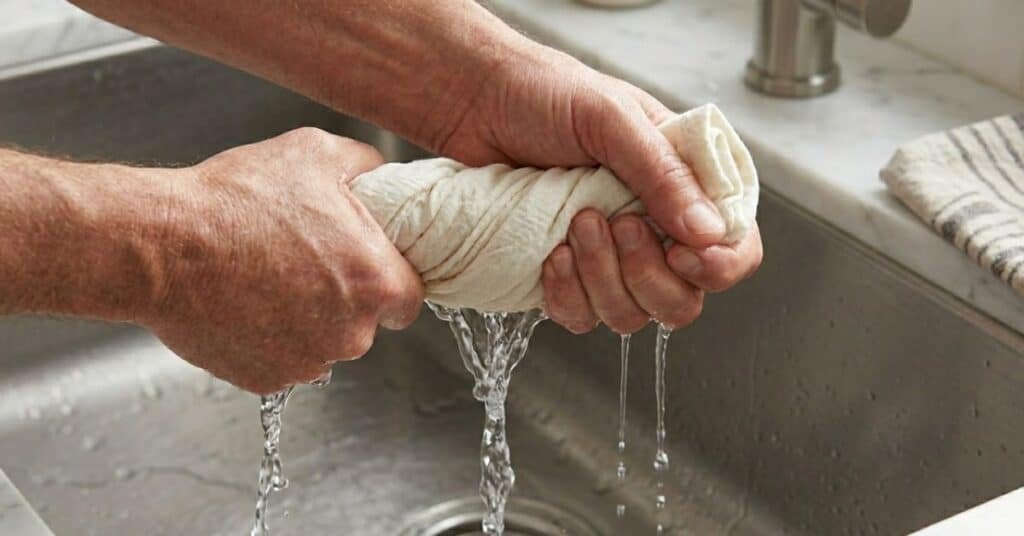
Step 3: The Secret Squeeze (Crucial Step!)
This is the single most important step in the entire recipe. Place the cooled cauliflower rice into the center of a clean cheesecloth or a thin kitchen towel. Gather the corners and squeeze as hard as you can over the sink. Squeeze out all the excess water. The drier the cauliflower becomes, the crispier your final crust will be.
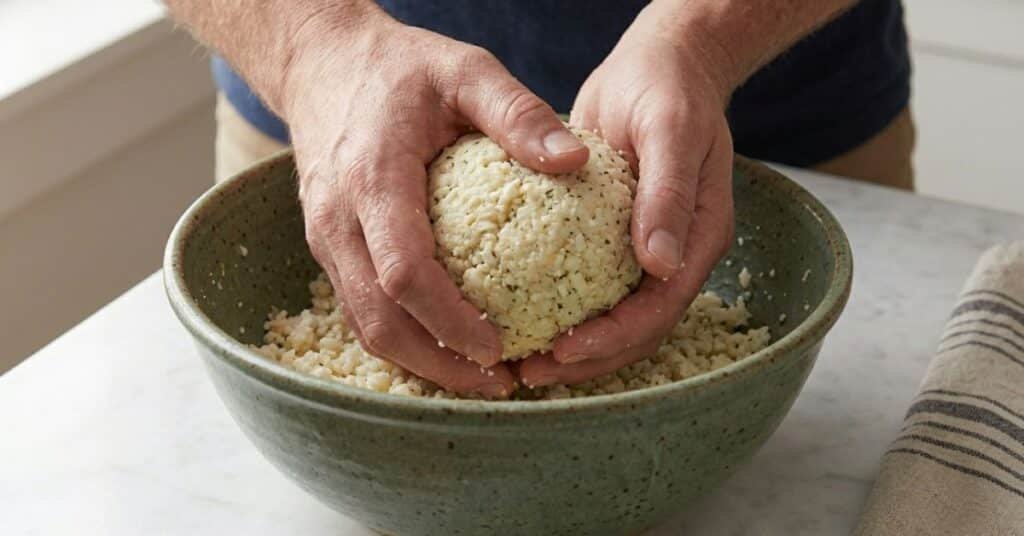
Step 4: Mix the Dough
In a large, dry mixing bowl, combine your completely dry cauliflower with the egg, mozzarella cheese, parmesan cheese, garlic powder, oregano, salt, and pepper. Use your hands or a large spoon to mix everything together until it forms a soft, sticky dough ball.
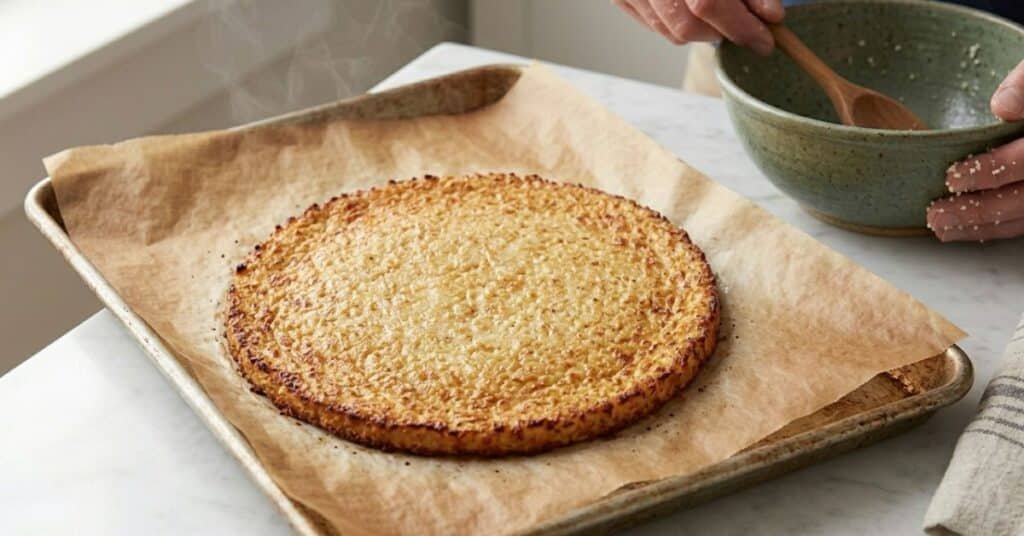
Step 5: Shape and Pre-Bake
Preheat your oven to 400°F (200°C). Line a flat baking tray with high-quality parchment paper. Place your dough ball in the center and use your hands to press it out into a flat, thin circle. Keep the edges slightly thicker to form a nice crust. Bake the plain crust for 15 to 20 minutes until the top is dry and the edges are beautifully golden brown.
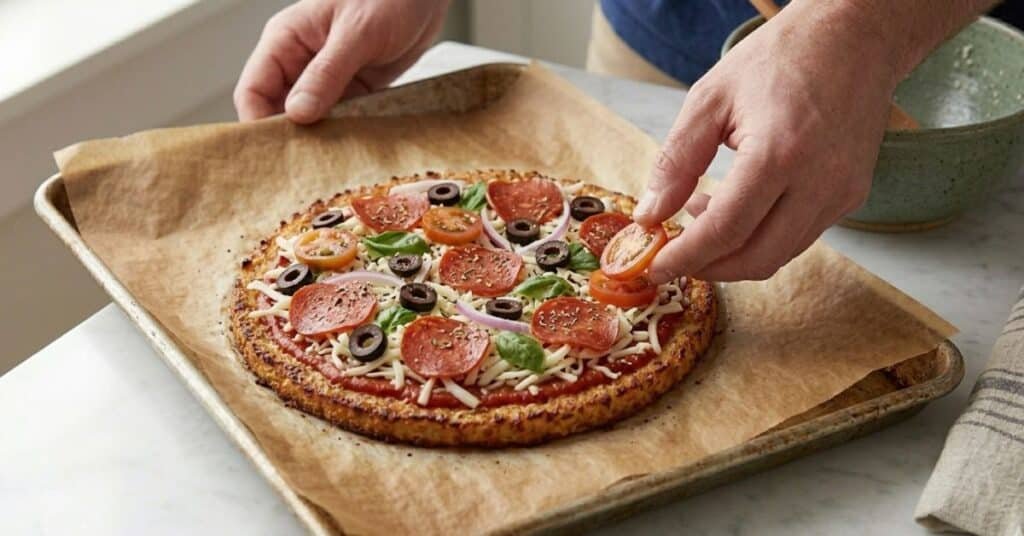
Step 6: Add Toppings and Final Bake
Remove the crust from the oven. Add a thin layer of sugar-free tomato sauce, a sprinkle of cheese, and your favorite healthy toppings. Return the pizza to the oven and bake for another 5 to 10 minutes until the cheese is bubbling and melted. Slice it up and enjoy!
Pro-Tips for the Best Results
Over my time testing this recipe, I have learned a few tricks that make a huge difference. Keep these professional tips in mind:
- Parchment Paper is Mandatory: Never use aluminum foil or wax paper, and do not place the dough directly on the metal baking sheet. The cheese in the dough will melt and stick like glue. Parchment paper ensures an easy release.
- Keep the Crust Thin: Make sure you press the dough out evenly. If the center is too thick, it will not cook all the way through and will remain soft.
- Go Light on the Sauce: Heavy, watery tomato sauces will seep into your beautifully baked crust and ruin the crispiness. Use a thick sauce and spread it sparingly.
- Cool Before Slicing: Let the pizza rest for 3 to 5 minutes after taking it out of the oven. This gives the cheese a moment to set, making it much easier to slice and hold.
Best Low-Carb Topping Combinations
Need some inspiration for your pizza night? Try these delicious and healthy topping ideas:
- The Classic Margherita: A light layer of sugar-free marinara, fresh mozzarella slices, fresh basil leaves, and a drizzle of olive oil.
- The Protein Powerhouse: Grilled chicken breast pieces, fresh spinach, red onions, and a sprinkle of feta cheese.
- The Veggie Delight: Roasted bell peppers, mushrooms, black olives, and thinly sliced zucchini.
Nutritional Breakdown
Knowledge is power when it comes to healthy eating. Here is the nutritional profile for one serving of the plain, pre-baked crust (without additional toppings).
| Nutritional Element | Amount Per Serving (1 Slice) |
| Calories | 85 kcal |
| Total Fat | 5g |
| Protein | 7g |
| Total Carbohydrates | 4g |
| Dietary Fiber | 1g |
| Net Carbs | 3g |
Final Thoughts
Making a healthy lifestyle change does not mean you have to say goodbye to the foods you love. It is all about finding smarter, more nutritious ways to prepare them. With a little bit of patience during the squeezing process, you can create a fantastic meal that supports your wellness journey and satisfies your cravings.
Frequently Asked Questions (FAQs)
Q1: Can I use frozen store-bought cauliflower rice?
Yes, you absolutely can! Frozen cauliflower rice is a great time-saver. However, you must thaw it completely first. Once it is thawed, you still need to follow Step 3 and squeeze out all the excess water using a towel. Frozen cauliflower actually holds more water than fresh, so squeeze firmly!
Q2: How do I store leftover cauliflower pizza?
If you have leftovers, place the slices in an airtight container and store them in the refrigerator for up to 3 days.
Q3: What is the best way to reheat the pizza so it stays crispy?
Do not use the microwave, as it will make the crust soggy. The best way to reheat it is in an air fryer at 350°F (175°C) for 3-4 minutes, or in a regular oven until it is warm and crispy again. You can also heat it in a dry skillet on the stove over medium heat.
Q4: Can I make this recipe dairy-free?
The cheese in this recipe acts as a binder, so replacing it changes the texture. However, you can use dairy-free mozzarella shreds and nutritional yeast instead of parmesan. Keep in mind the crust might be slightly softer.
Q5: Can I freeze the plain crust for later?
Yes! You can pre-bake the crust (Step 5), let it cool completely, and then wrap it tightly in plastic wrap and foil. Freeze it for up to 3 months. When you are ready to eat, add your toppings to the frozen crust and bake until everything is hot and bubbly.
Give this recipe a try this weekend, and I guarantee you will be amazed at how delicious vegetables can be!